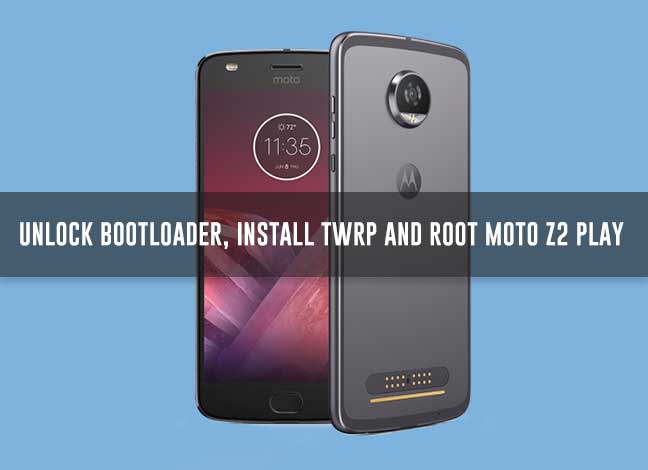
How to Root Moto Z2 Play and Install TWRP
Follow the easiest method to root Moto Z2 Play to enjoy root apps and customize your phone to your needs. This tutorial will also cover installing TWRP on Moto Z2 Play. Advertisement […]
Follow the easiest method to root Moto Z2 Play to enjoy root apps and customize your phone to your needs. This tutorial will also cover installing TWRP on Moto Z2 Play.
Advertisement
The Z2 Play is a successor to last year’s Moto Z Play and brings some upgrades both in terms of hardware and software. Taking the prior in consideration, the Z2 Play has a Snapdragon 626 Octa-core processor clocked at 2.2 GHz, a 12 MP dual-LED camera with f/1.7, USB 3.1 support and much more. While the updated model is not much different from the original, it is worth buying because it features Moto mods and Nougat 7.1.1 out of the box. It also expected to be upgraded to Android 8.0 Oreo soon.

While the phone has a decent hardware config, it is further possible to give a nice kick to its performance and battery life by rooting. Once you Root Moto Z2 Play, you will be able to have full control over the system and you can customize it internally without any limitations. There’s a fair discussion on the internet; whether rooting your Android is really worth it or not?
Being a consistent root user for years now, I could say that it is definitely worth. Rooting allows you to achieve almost anything and enjoy features and apps from different OEMs on your device. It lets you freely modify your device’s software without any limitations from the manufacturer. Kernel tweaking apps, custom themes, etc are part of the rooting privilege. So, if you are all set and ready to root Moto Z2 Play, go ahead and do it right now!
Advertisement
In the procedure below, we will be first installing TWRP recovery on the device. Which will enable us to install mods, ROMs, kernels, and flash the root package to root Moto Z2 Play.
Also read: How to Enable iPhone-like Face ID Feature on Android
Advertisement
Page Contents
How to Unlock Bootloader, Install TWRP and Root Moto Z2 Play
We have divided this article into individual parts for you to better understand the whole procedure. We understand that rooting for the first time could be confusing, frustrating, and very time-consuming. But if you’re following the guide below, then that wouldn’t be the case at all.
Step 1: Prerequisites
- Take a backup of your device. This also includes the internal storage. In case anything goes unplanned, you will have all you need to restore your device back.
- Charge your Z2 Play to at least 60-70% charging level to avoid any hiccups during the process.
- Enable USB debugging, set up ADB and initiate ADB access between the PC and device: Tutorial
Step 2: Unlock Bootloader on Moto Z2 Play
In order to root and install TWRP on Moto Z2 Play, you will require to first unlock your bootloader. Luckily, you can do it pretty easily by following our tutorial. Unlocking the bootloader will enable you to execute fastboot commands which will be required to flash the TWRP custom recovery.
— How to Unlock Bootloader on Moto Smartphones
Advertisement
Step 3: Install TWRP Recovery
TWRP is currently available for Moto Z2 Play unofficially via XDA member – Santhosh M. We are grateful to him for working this out for the users.
- Download the TWRP recovery image for Moto Z2 Play: twrp-3.2.1-0-albus.img
- Copy the downloaded file to C:\adb (Prerequisites: Pointer #3) where the fastboot binaries are present.
- Connect your device to the PC usin the USB cable. Make sure that USB debugging is enabled.
- Open the command prompt window and enter the command below to reboot your Moto Z2 Play into fastboot mode:
adb reboot bootloader

- As soon as your phone boots into fastboot mode, enter the command to flash TWRP on Moto Z2 Play:
fastboot flash recovery twrp_3.2.1-0_albus.img
- It shouldn’t take more than a few seconds to complete. Once it is, reboot the device:
fastboot reboot
That’s it! You have just successfully installed TWRP on Moto Z2 Play. Now comes the turn to Root Moto Z2 Play using Magisk.
Also read: How to Enable Mac-like Touch Bar on Android Devices
Advertisement
Step 4: Root Moto Z2 Play using Magisk
The fourth and the final step is to root the phone using Magisk flashable ZIP. Magisk not only provides root solution and a dedicated root management interface, but also allows you to install modules that could help customize your device in a few taps.
- Download the Magisk flashable zip: Magisk-15.3.zip
- Transfer the file to the internal storage of the device.
- Connect your device to the PC again.
- Open the command prompt and use the command to reboot your Moto Z2 Play into recovery mode.
adb reboot recovery
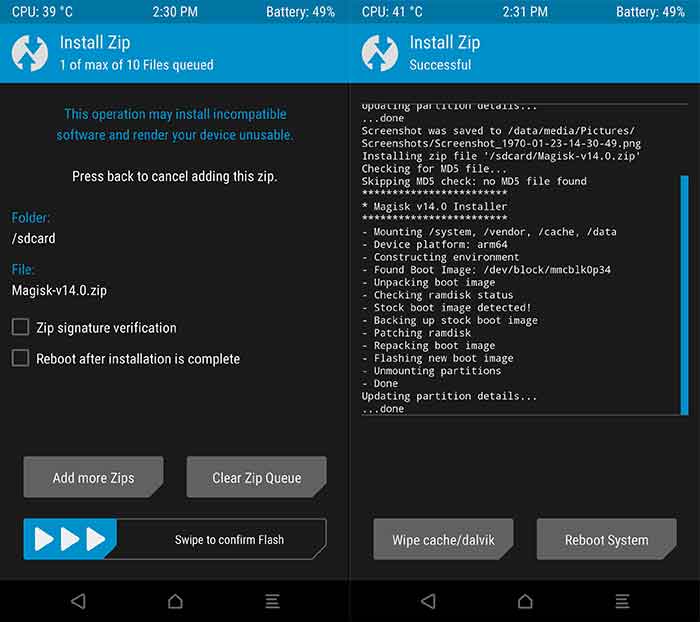
- As soon as your device gets into TWRP, tap on the “Install” button.

Install Magisk using TWRP to root Moto Z2 Play - Browse the storage and select the “Magisk-14.0.zip” file. Swipe the button on the bottom of the screen to flash Magisk and root Moto Z2 Play.
- Finally, press the “Reboot system” button on the screen.
There you have it! You have been successful to install TWRP and Root Moto Z2 Play pretty easily, right? You can now go ahead and optimize your device’s performance and battery life using apps and tweaks that require root permissions.
Check out more on root:
- How to Enable Floating Bubble in Google Phone
- How to Remove Emergency Call Button from Lock Screen (Root & No-Root)
- How to Install Sony Apps on Any Android Device
- How to Stop Android Wakelocks using WakeBlock (Root)
If you have any problems during this tutorial, just leave us a comment and we will give our best to help you.
Comments 2 Comments
Will this root procedure work for Android 8.0/8.1? I can’t find anything regarding Oreo root (not even on XDA), so I’m assuming Nougat, updated rooting tools will work straightforwardly for Oreo as well. Since there is already an Xposed Framework (even as a Magisk module) for Nougat, I think I’m pretty much on the right path… Am I?
Hi Richard, it’s good that you consulted even before taking a step further. I have seen that the success rate for SuperSU is low, as compared to Magisk, on Oreo. SuperSU works for some devices, but not for some others at the same time.
As for Magisk, I have rooted all three of my devices on Oreo using it. So I can vouch for that. You can simply flash latest Magisk v16.3 ZIP using TWRP.